Lighting Installation in Centereach, NY

Lighting installation covers fixture mounting, recessed can layout, dimmer compatibility, and load calculation for homeowners upgrading dated fixtures or adding new circuits. Centereach split-levels and 1960s ranches often have shallow ceiling boxes and no neutral at the switch, which limits LED retrofit options until the wiring is corrected.

Our licensed electricians handle interior, exterior, and landscape lighting on a 2026 schedule that accounts for shorter winter daylight and increased demand for driveway and entry lighting. Every job starts with a written estimate. Centereach Electrician Masters manages the layout, wiring, and final testing.

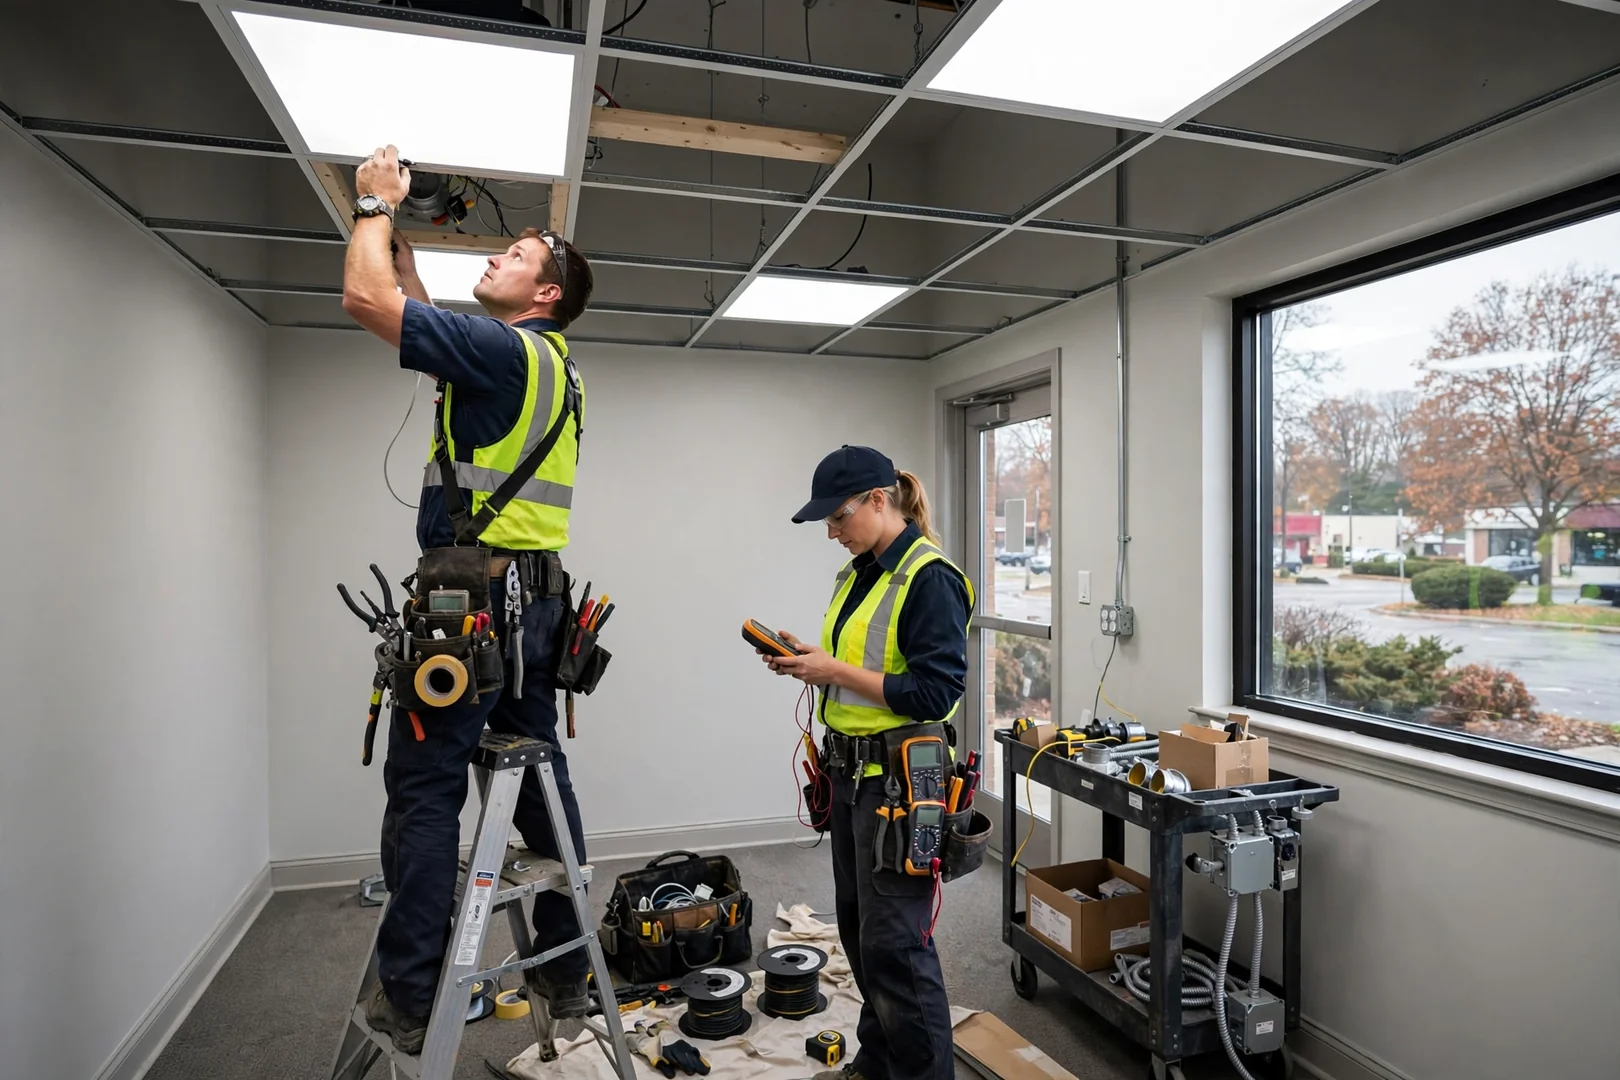
Electrician mounting recessed LED housing between ceiling joists during a Centereach lighting install

Lighting Installation Service Overview

What Our Lighting Installation Service Includes

Lighting installation is the process of designing circuit layout, running conductors, mounting fixtures, and terminating controls so a lighting system operates safely at rated load, and at Centereach Electrician Masters it includes recessed lighting, pendants, under-cabinet strips, track systems, ceiling fixtures, and exterior floodlighting across Centereach properties. Work begins with an evaluation: our technicians verify circuit capacity with a clamp meter, check existing box ratings, and confirm whether the switch leg carries a neutral for smart or 0-10V dimming. Layout is measured, not guessed. We use joist scanners and IC-rated or non-IC housings depending on insulation contact, then match driver type to the dimmer to prevent flicker and premature LED failure. Residential homes, storefront and office spaces, and multi-unit buildings each get different treatment, since commercial jobs often involve 277V lighting, occupancy sensors, and emergency egress fixtures. Torque specs, wire nut sizing, and box fill limits follow NEC and New York State code, and 2026 installs lean heavily toward high-CRI LED with tunable color temperature. Each project closes with a load check, dimmer range test, and a post-job walkthrough so you know what was installed and where the circuits terminate.

Call Us: (631) 529-1048

Common Lighting Problems We Fix

What Signs Mean Your Property Needs Lighting Installation?

Flickering LEDs, buzzing dimmers, hot fixture canopies, and dark work zones are the clearest signs a property needs professional lighting installation. Older Centereach homes frequently run lighting on shared 15-amp branch circuits, so adding a kitchen island fixture or garage floodlight pushes the circuit past safe load and trips the breaker. Incompatible trailing-edge dimmers paired with cheap LED drivers cause visible strobing and audible hum. Other common findings include overloaded ceiling boxes not rated for fixture weight, scorched insulation at brittle cloth or aluminum conductors, missing ground at old two-wire switch loops, and recessed cans buried in attic insulation without IC rating, which triggers thermal cutout cycling. Uneven foot-candle coverage is another issue: one center fixture cannot light a full room. Through 2026, requests spike for exterior entry and driveway lighting as evening hours get darker earlier in Centereach. Correcting these conditions requires new circuit runs, properly rated housings, matched drivers, and code-compliant terminations rather than a bulb swap.

Book a Lighting Inspection (631) 529-1048
Flickering ceiling fixture and outdated switch wiring inspected inside an older Centereach home

Lighting Installation Process

How Does Our Lighting Installation Process Work?

Electrician mounting recessed LED fixture into ceiling joist bay during Centereach lighting installation

Site Assessment and Load Review

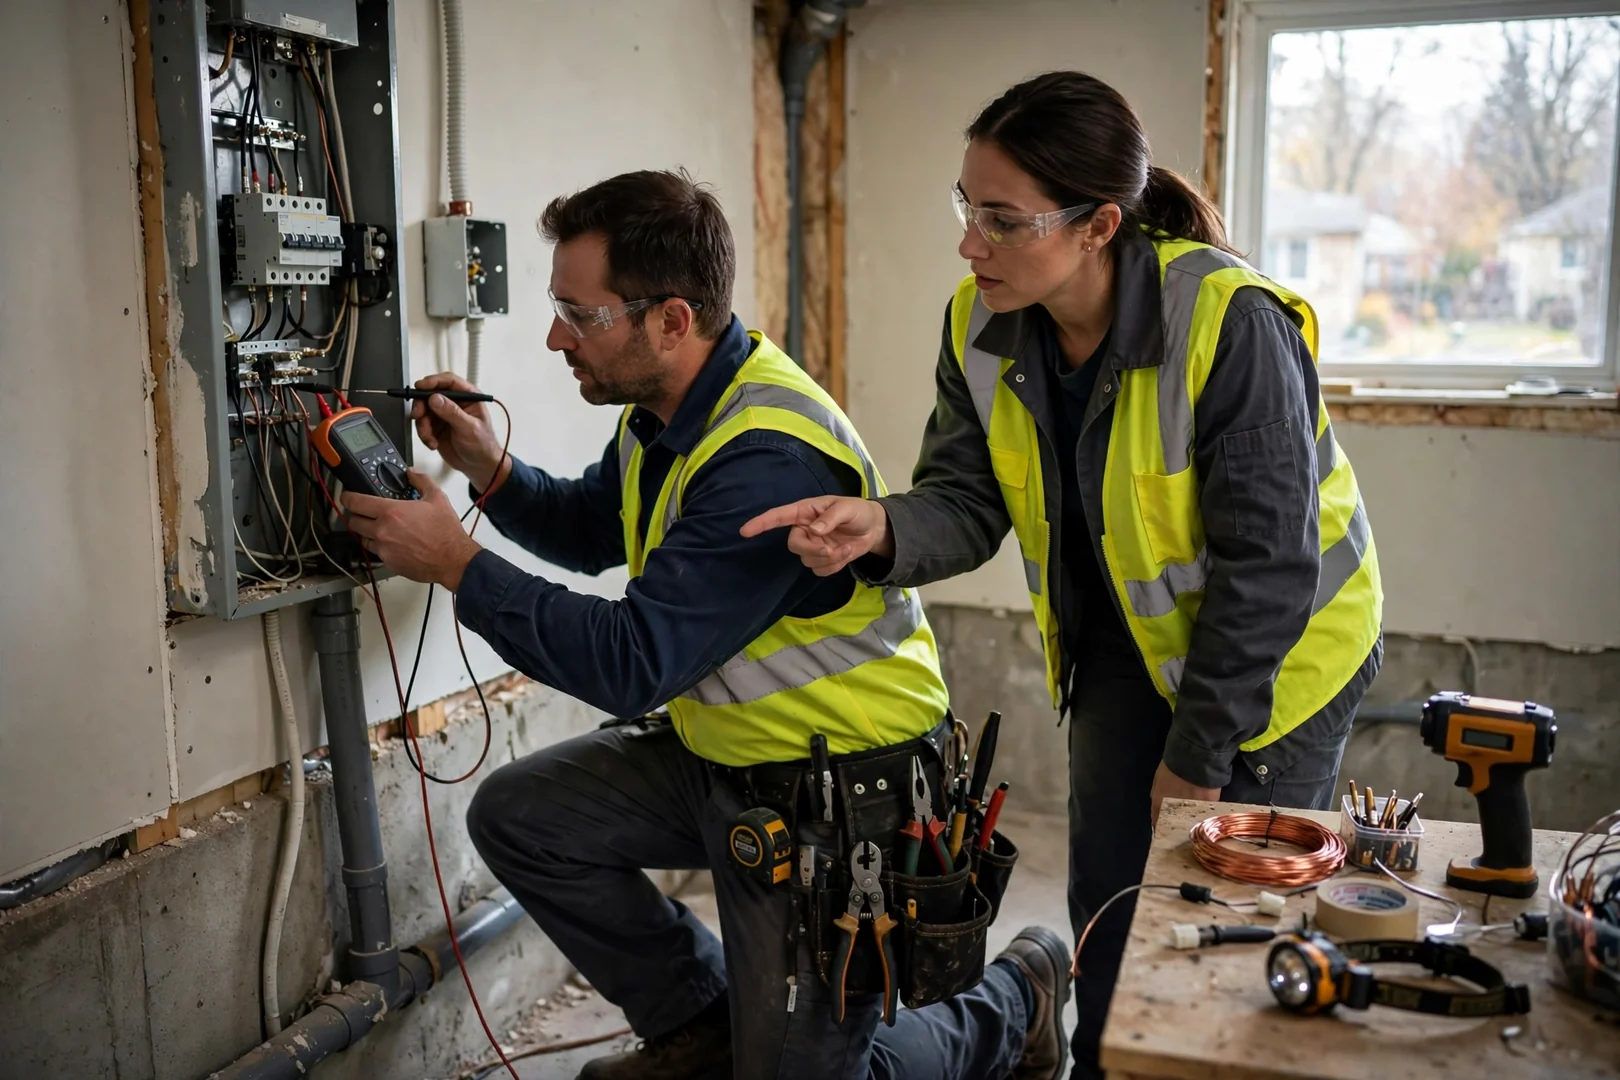
Every job starts with a walkthrough. Technicians measure ceiling heights, locate joists and existing junction boxes, then check circuit capacity with a clamp meter to confirm the branch circuit can carry the added load. Fixture type, lumen output, and color temperature are selected against room size and switch location. Findings go into a written estimate before any work begins.

Rough-In, Wiring, and Fixture Mounting

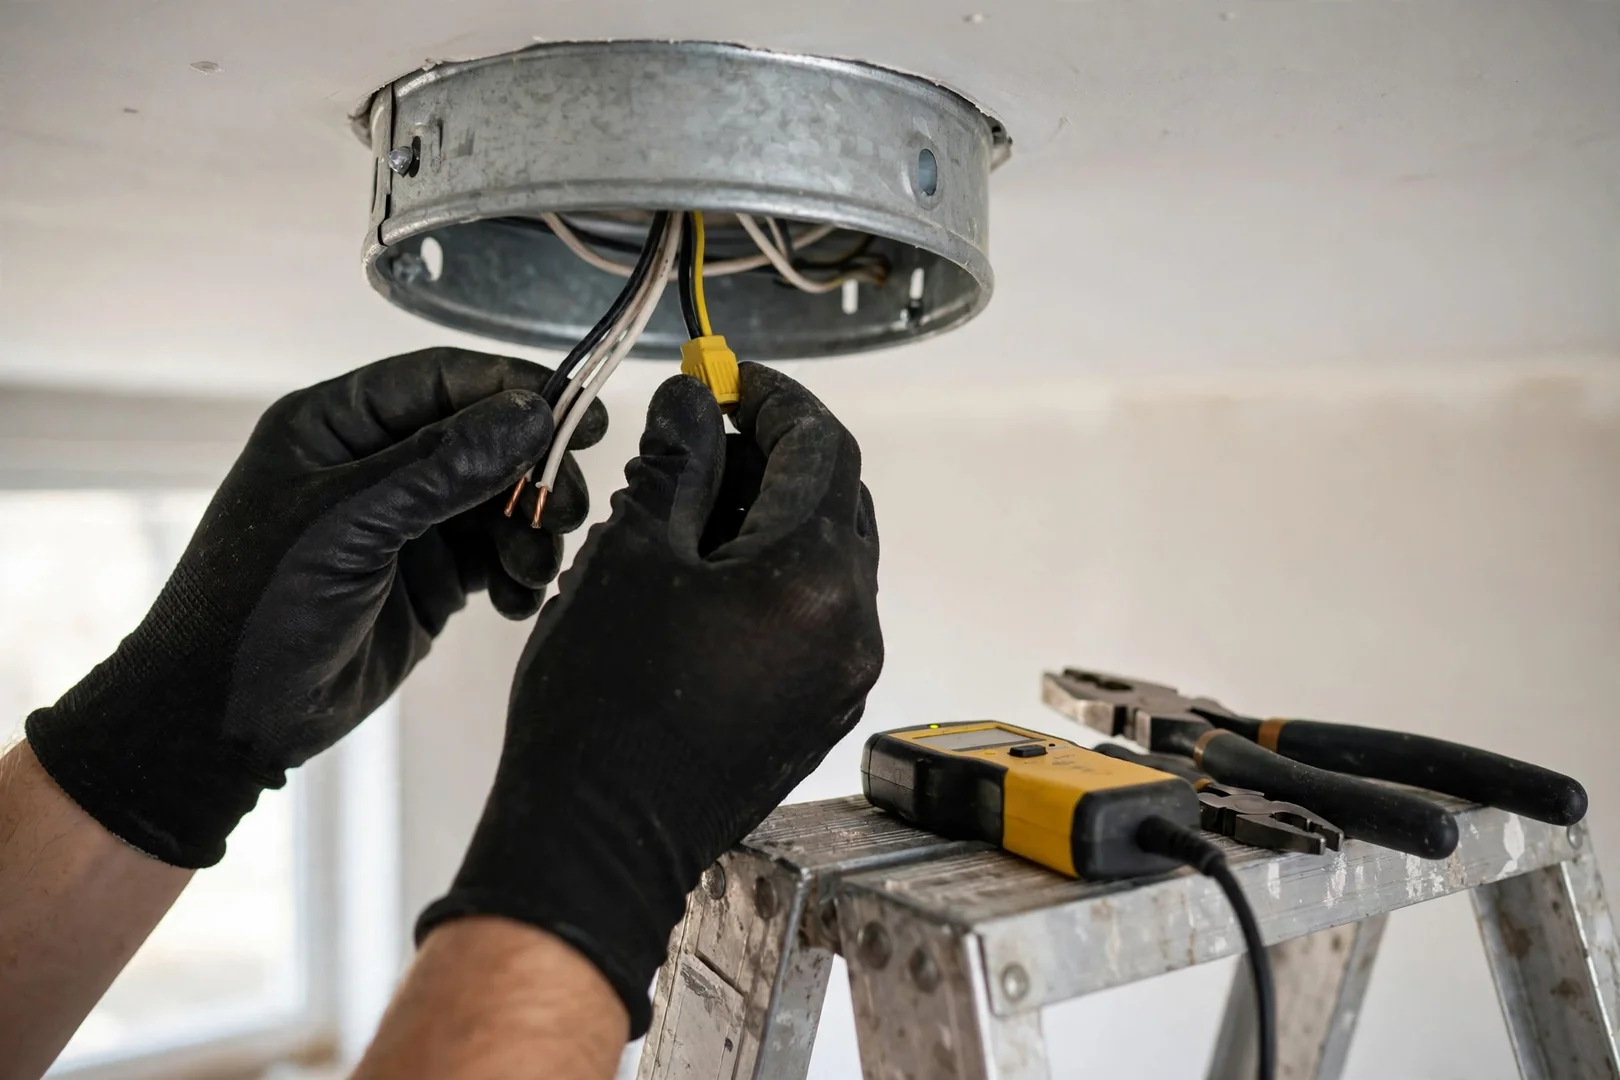
Power gets shut off at the panel and verified dead with a non-contact tester. We cut openings with template guides, run 14/2 or 12/2 cable to the correct gauge for the circuit, and secure fixture-rated boxes to structural framing. Dimmer compatibility is matched to the LED driver to prevent flicker and buzzing. Cable is stapled, grounded, and terminated to code.

Testing, Aiming, and Walkthrough

Circuits are re-energized and tested. We confirm polarity, verify grounding continuity, run each dimmer through its full range, and aim adjustable trims for even coverage. Older Centereach homes with two-wire switch legs often need a neutral pulled, which is confirmed at this stage. A post-job walkthrough covers switch operation, lamp replacement, and cleanup before we leave.

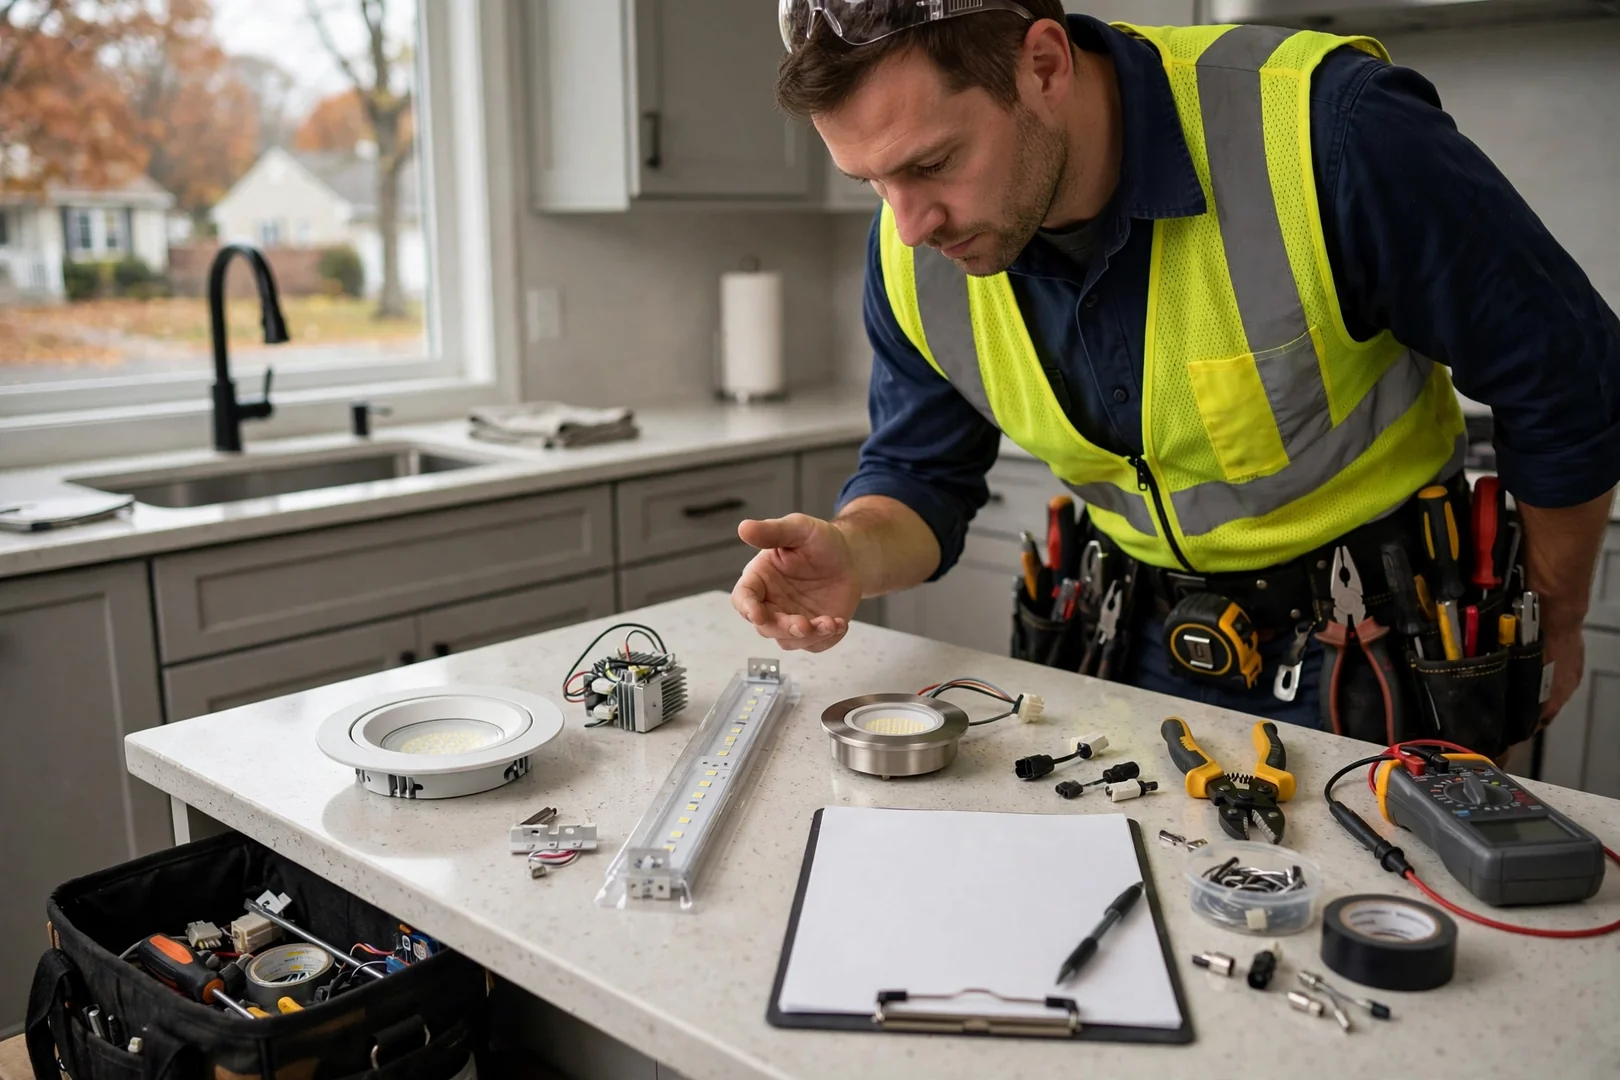
Technician comparing LED fixture options and written estimate paperwork at a kitchen counter
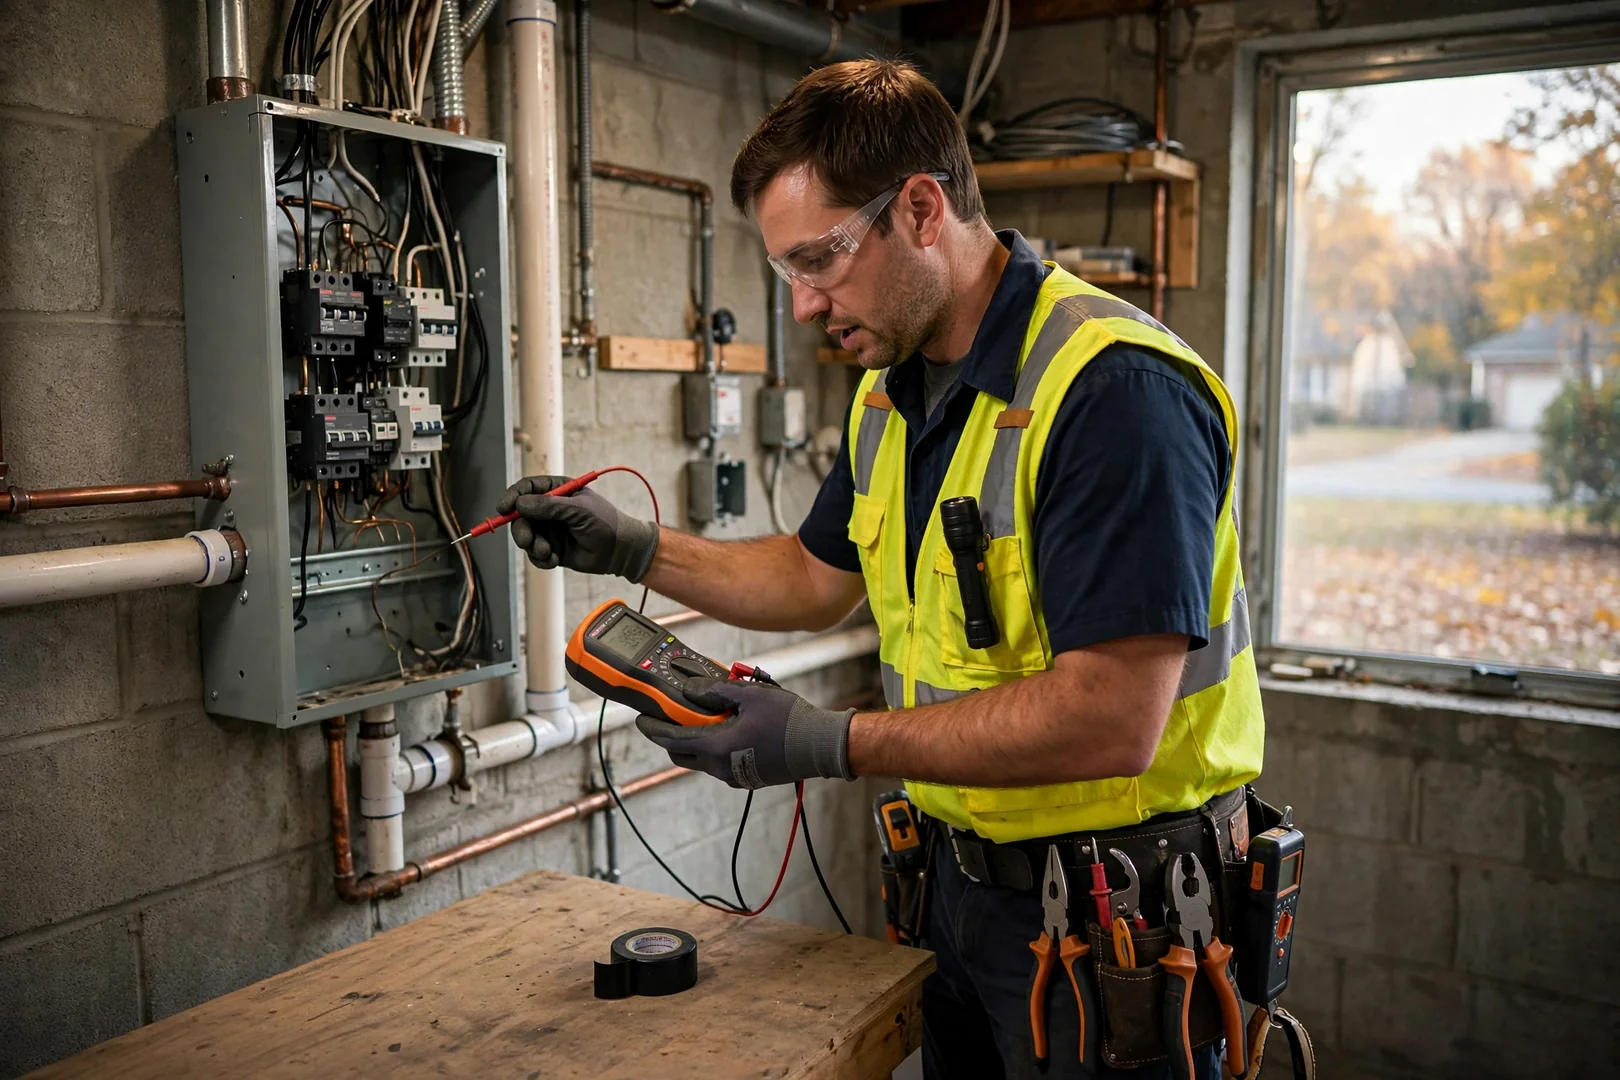
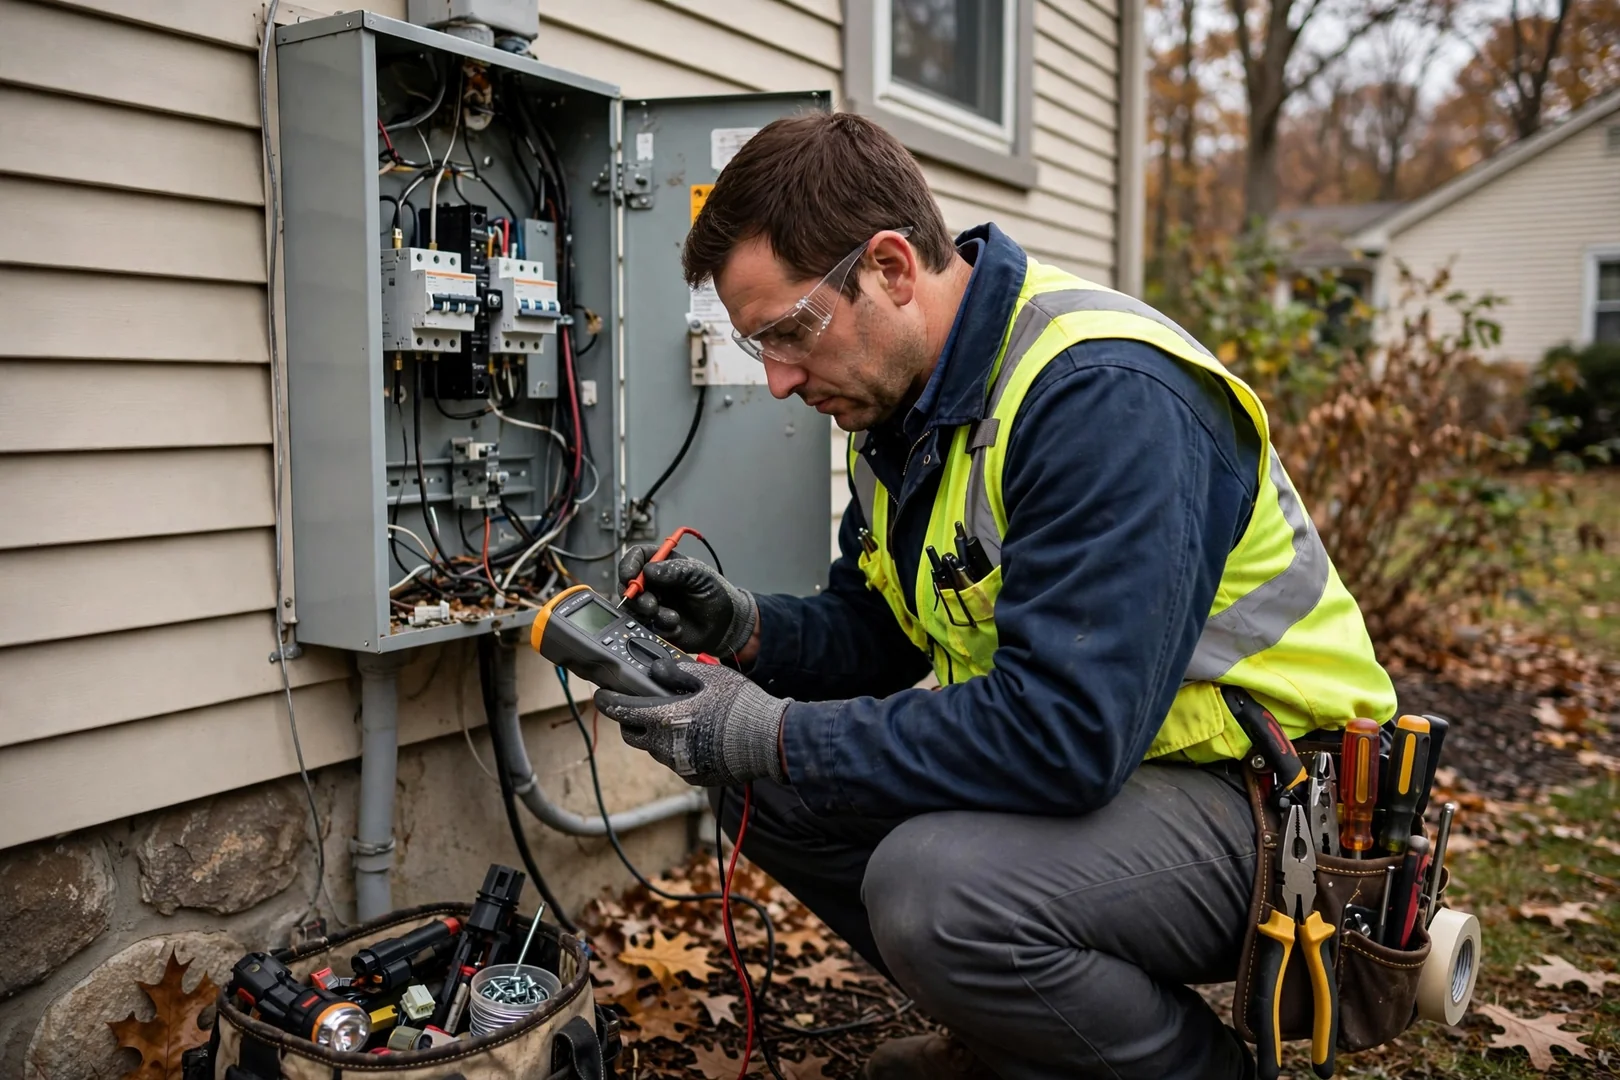
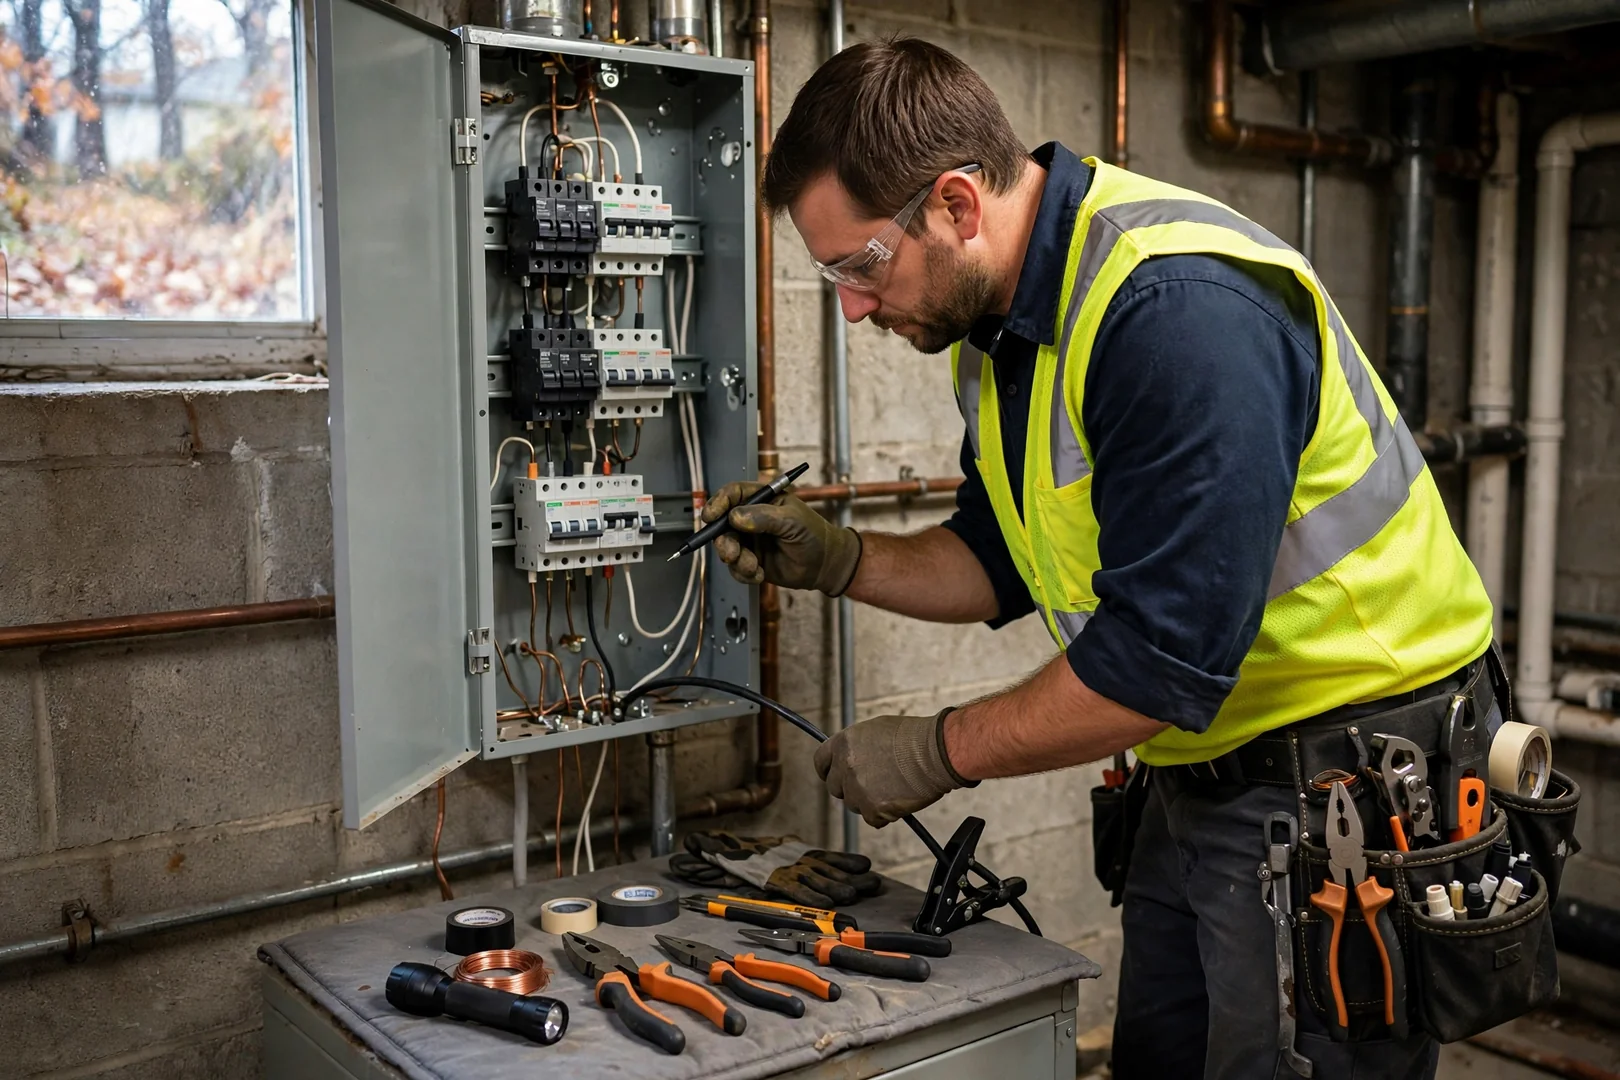
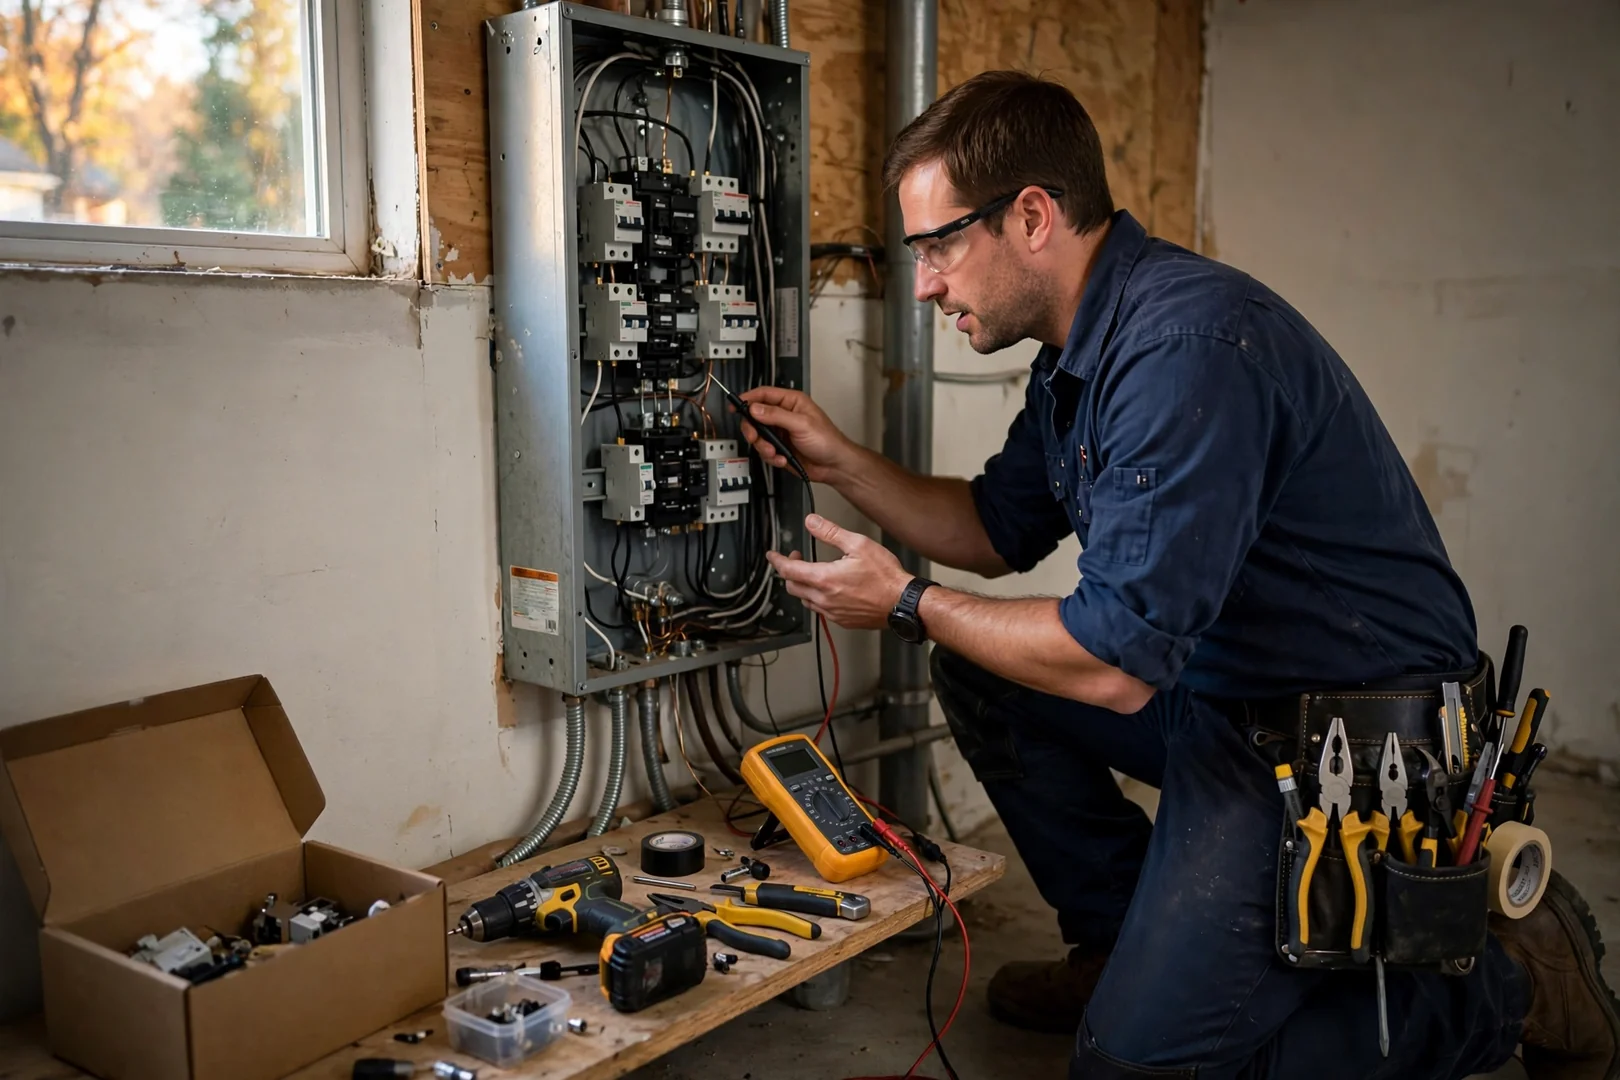
Open electrical panel with breaker labeling reviewed before adding a new lighting circuit

Lighting Installation Cost Factors

How Much Does Lighting Installation Cost in Centereach?

Lighting installation pricing in Centereach depends primarily on fixture count, whether new circuits or switch legs must be run, ceiling access, and dimmer or control type, with most 2026 jobs falling inside typical local ranges for residential work. Retrofitting recessed cans into a finished plaster ceiling costs more than swapping a fixture at an existing box, because it requires cutting, patching, and fishing cable through insulated joist bays. Adding a new branch circuit means panel space, breaker sizing, and possibly a panel upgrade. Smart dimmers and low-voltage transformers add material cost and commissioning time. Fixture supply is separate from labor, so homeowner-provided fixtures reduce the total. Many Centereach homes built before modern wiring standards lack a neutral at the switch box, which affects labor hours. Exact numbers require a site assessment. We provide free written estimates itemizing labor, materials, and any code-required corrections.

Request a Free Written Estimate (631) 529-1048

Why Do Centereach Homeowners Trust Us for Lighting Installation?

Homeowners choose Centereach Electrician Masters for lighting installation because every fixture is planned around measured circuit load, verified grounding, and dimmer-to-driver compatibility rather than guesswork. Trained technicians use joist scanners, non-contact voltage testers, and clamp meters to confirm conditions before cutting a single opening. That sequence protects finished ceilings and prevents flicker complaints later.

Documentation is part of the job. You get a written estimate before work starts, photo records of concealed wiring and box mounting, and a post-job walkthrough covering switch function, lamp access, and dimmer settings. Throughout 2026 we continue matching fixture selection to room dimensions, lumen targets, and color temperature so lighting levels stay consistent across Centereach living spaces. Precise layout, code-compliant terminations, and clean patching are the standard on every install.

Schedule a Lighting Assessment

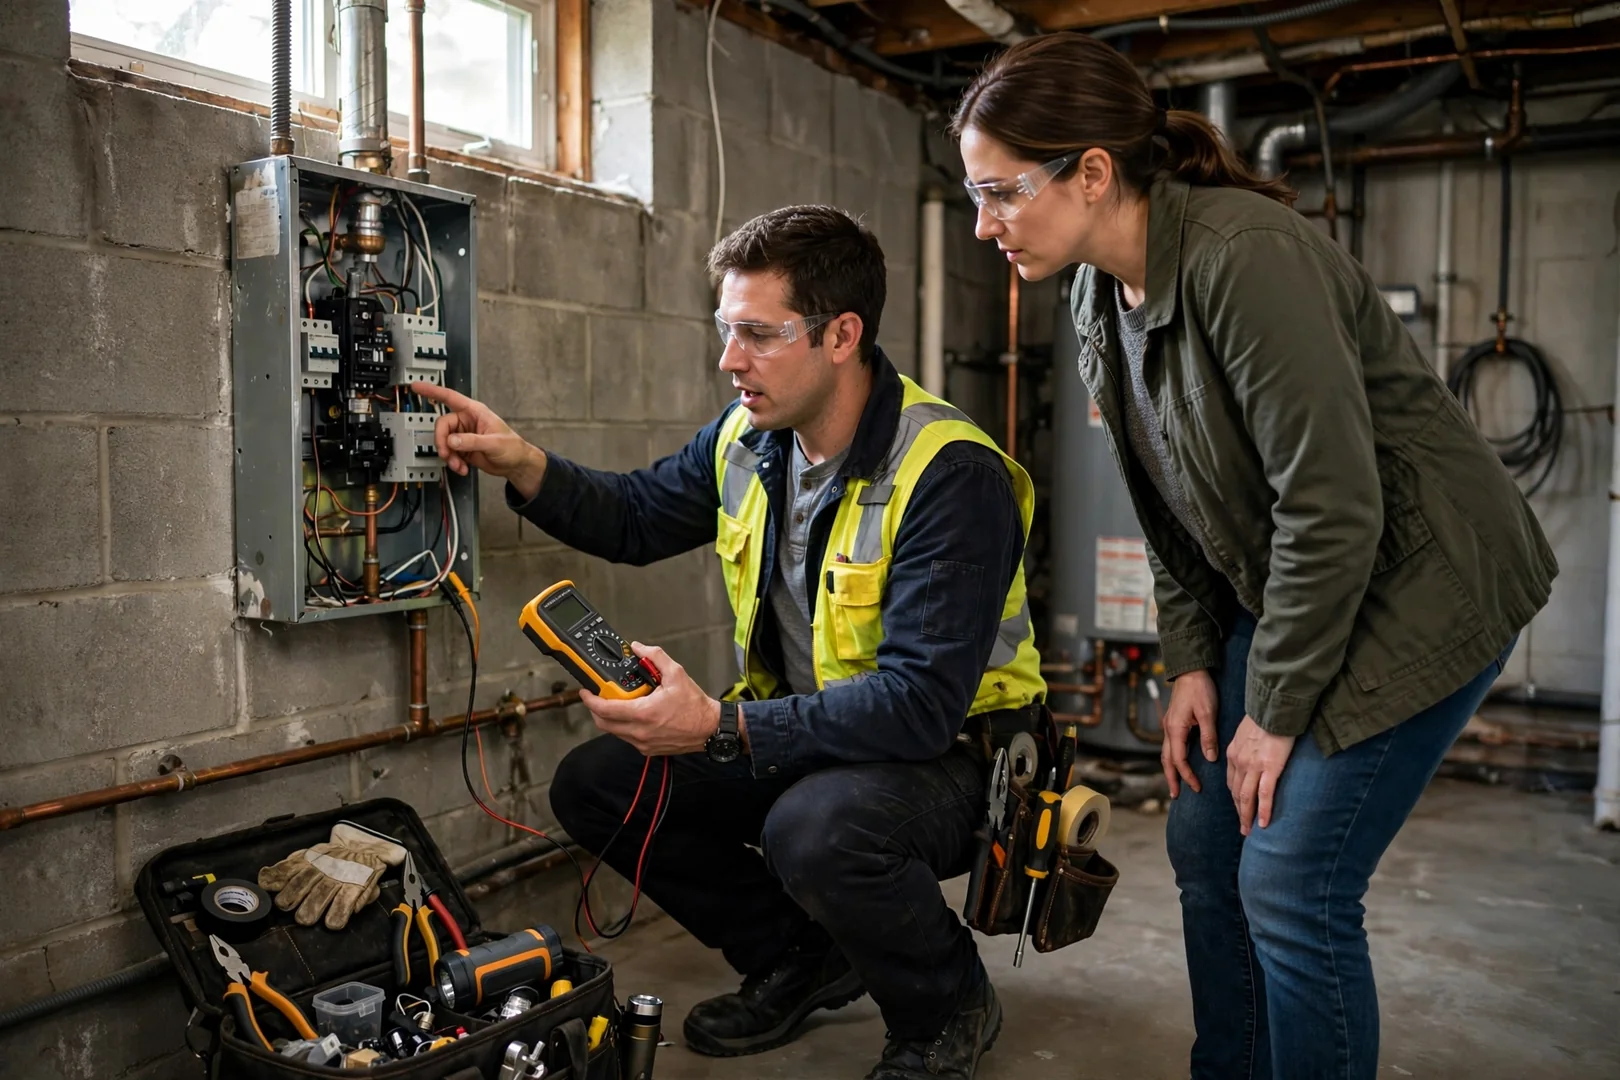
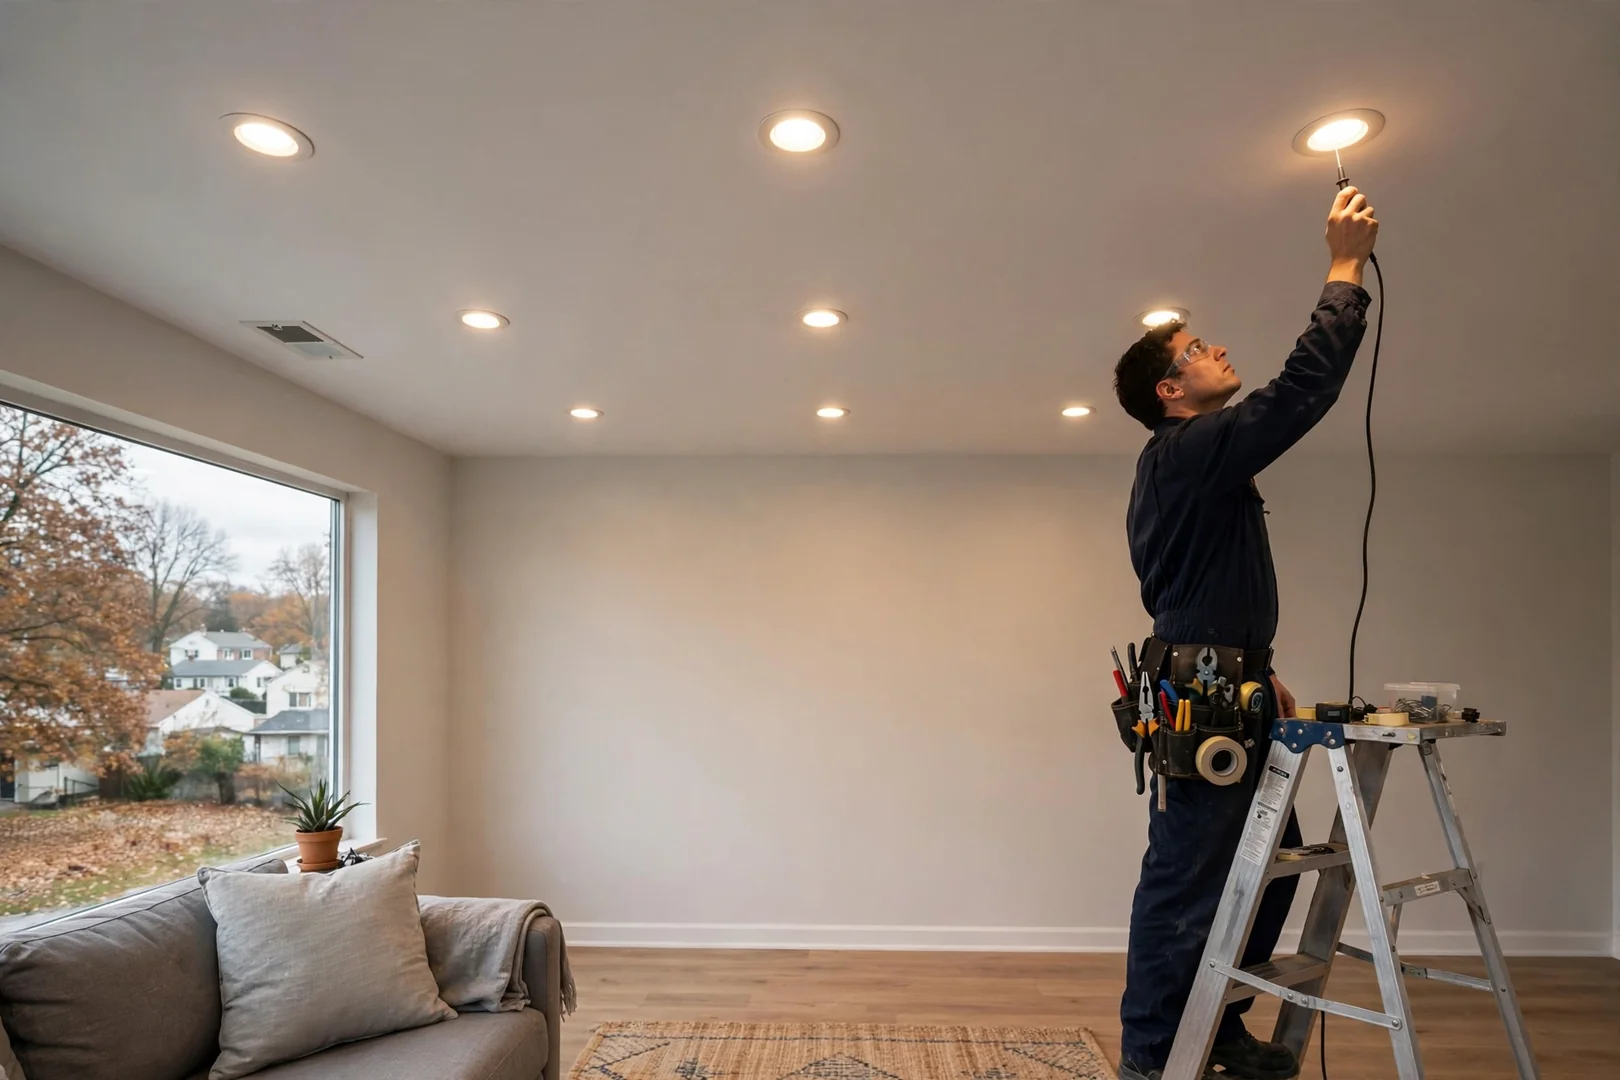
Trained electrician testing dimmer range on newly installed LED ceiling lights in a living room

Recent Lighting Installation Jobs

Lighting Installation Work Completed in Centereach in 2026

Lighting work this year has covered split-levels, ranches, capes, and small commercial suites across Centereach. Jobs ranged from single-fixture swaps to full recessed can layouts with dimmer-compatible LED trims and new switch legs. Every job starts with a load check on the branch circuit, a voltage and continuity test at the existing box, and confirmation that the ceiling box is fixture-rated for the weight involved. Technicians use non-contact voltage testers, circuit tracers, and torque-rated drivers so terminations meet accepted wiring standards. Fixture selection factors in lumen output, color temperature, and driver compatibility with the installed dimmer type, since mismatched pairings cause flicker. Older Centereach homes often need box replacement, ground conductor additions, or neutral runs before new fixtures go in. Each installation closes with a function test of all switches and a walkthrough of the finished work.

Recessed LED downlights evenly spaced across a freshly painted Centereach living room ceiling
Electrician wiring a ceiling fixture box while holding a non-contact voltage tester
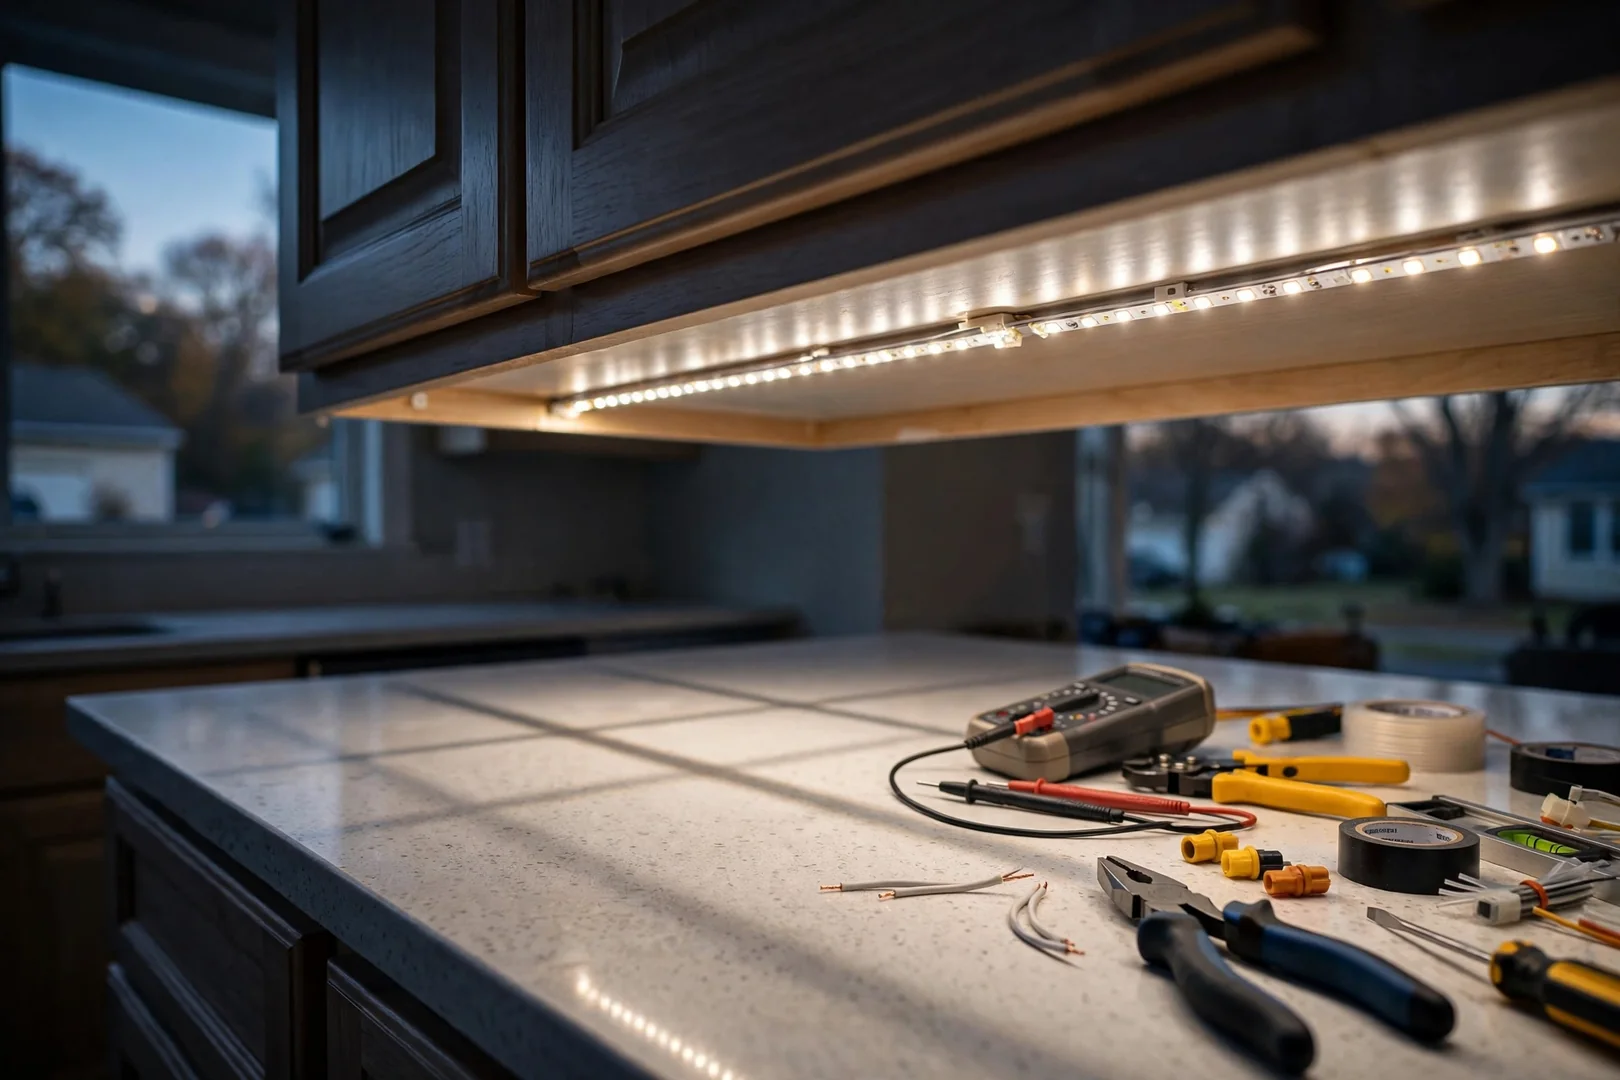
Under-cabinet LED strip lighting installed along a kitchen counter workspace
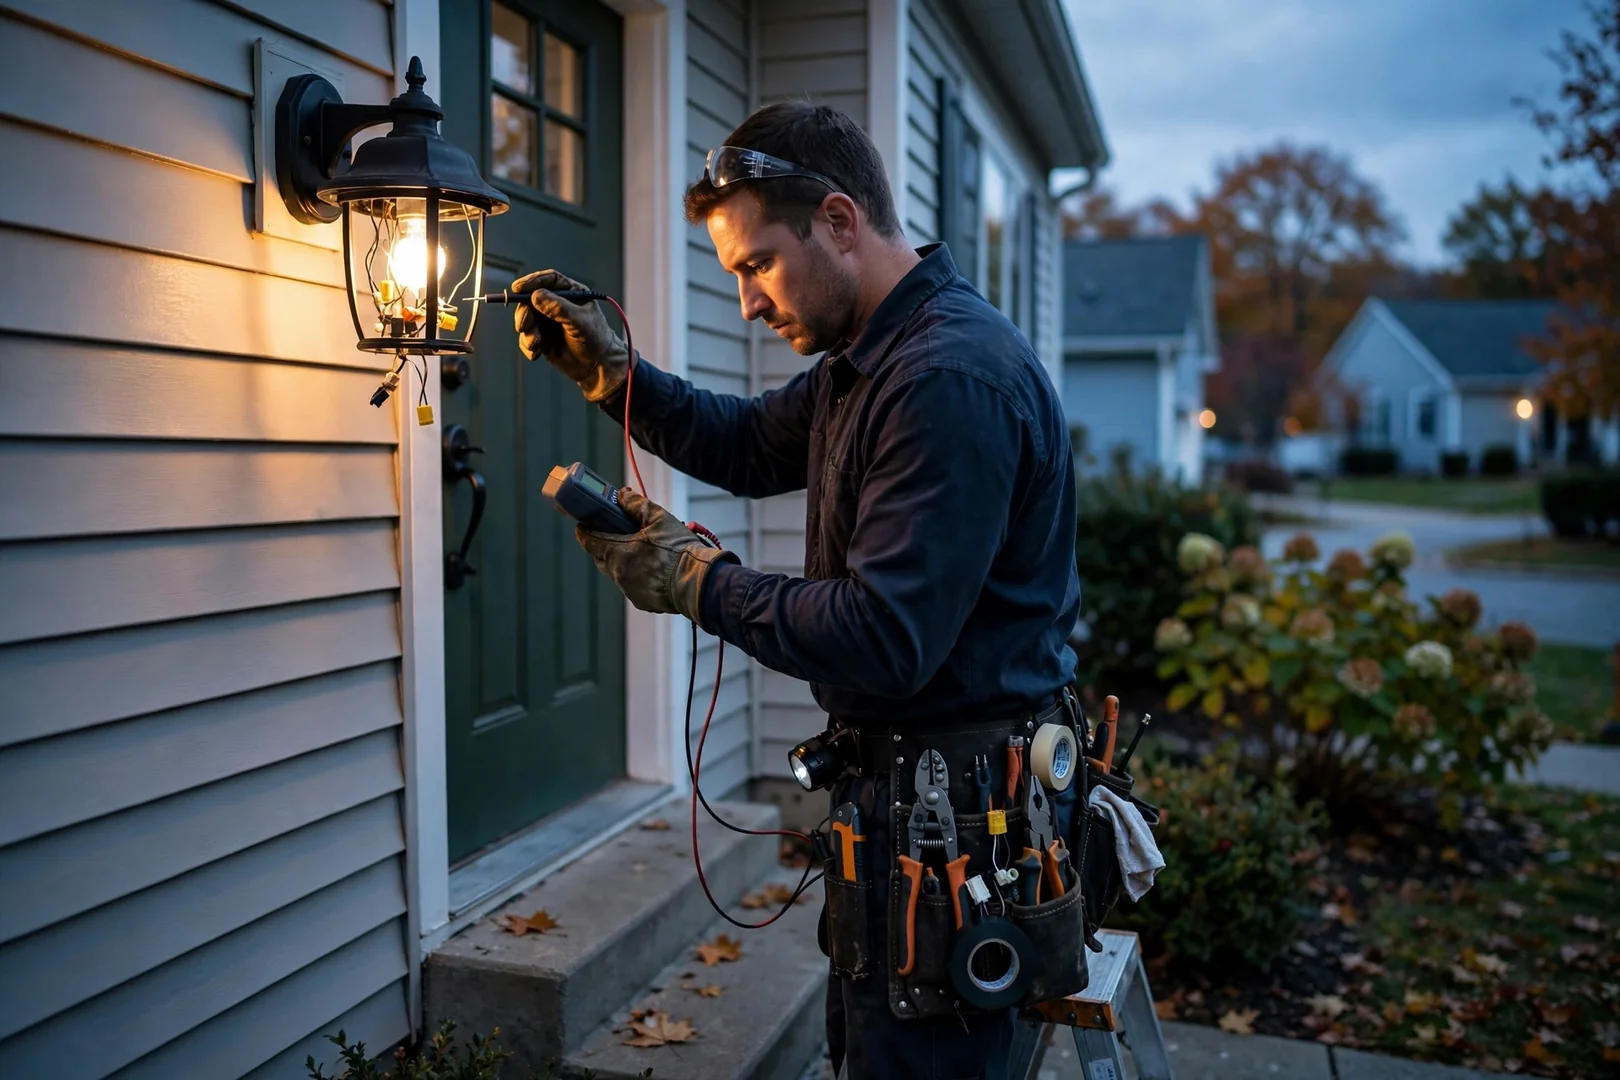
Outdoor wall lantern mounted beside a suburban front entry door at evening
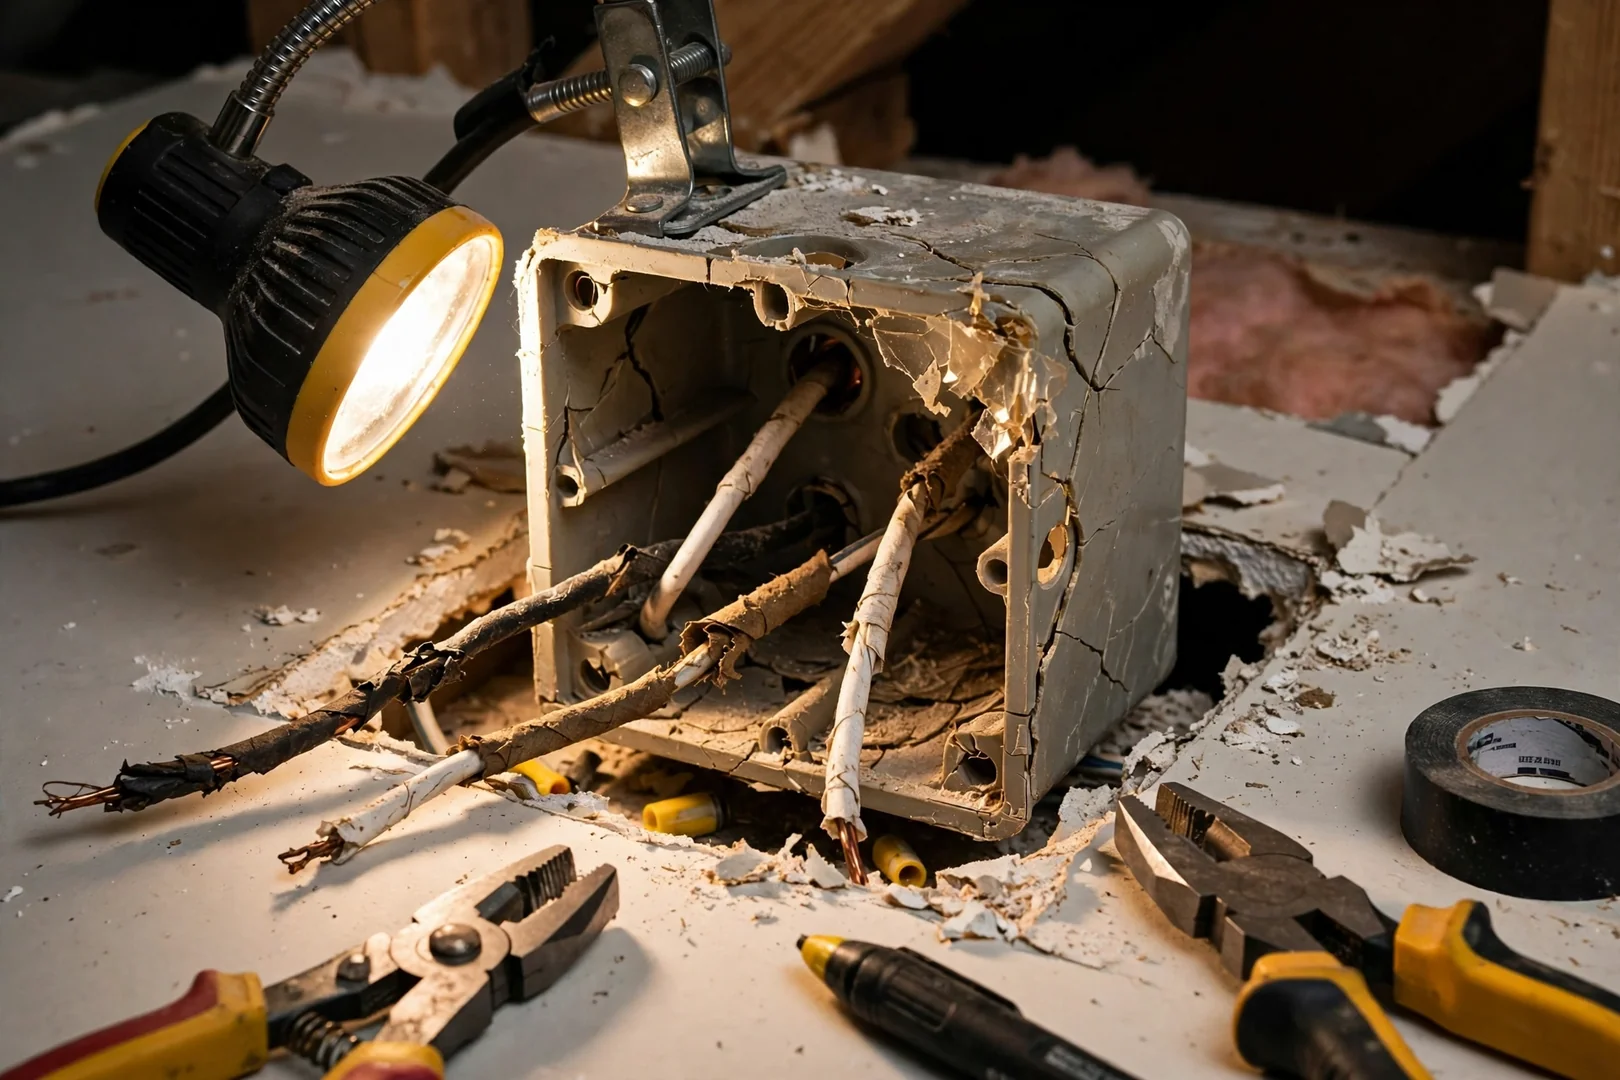
Old damaged ceiling box exposed before replacement during a fixture upgrade
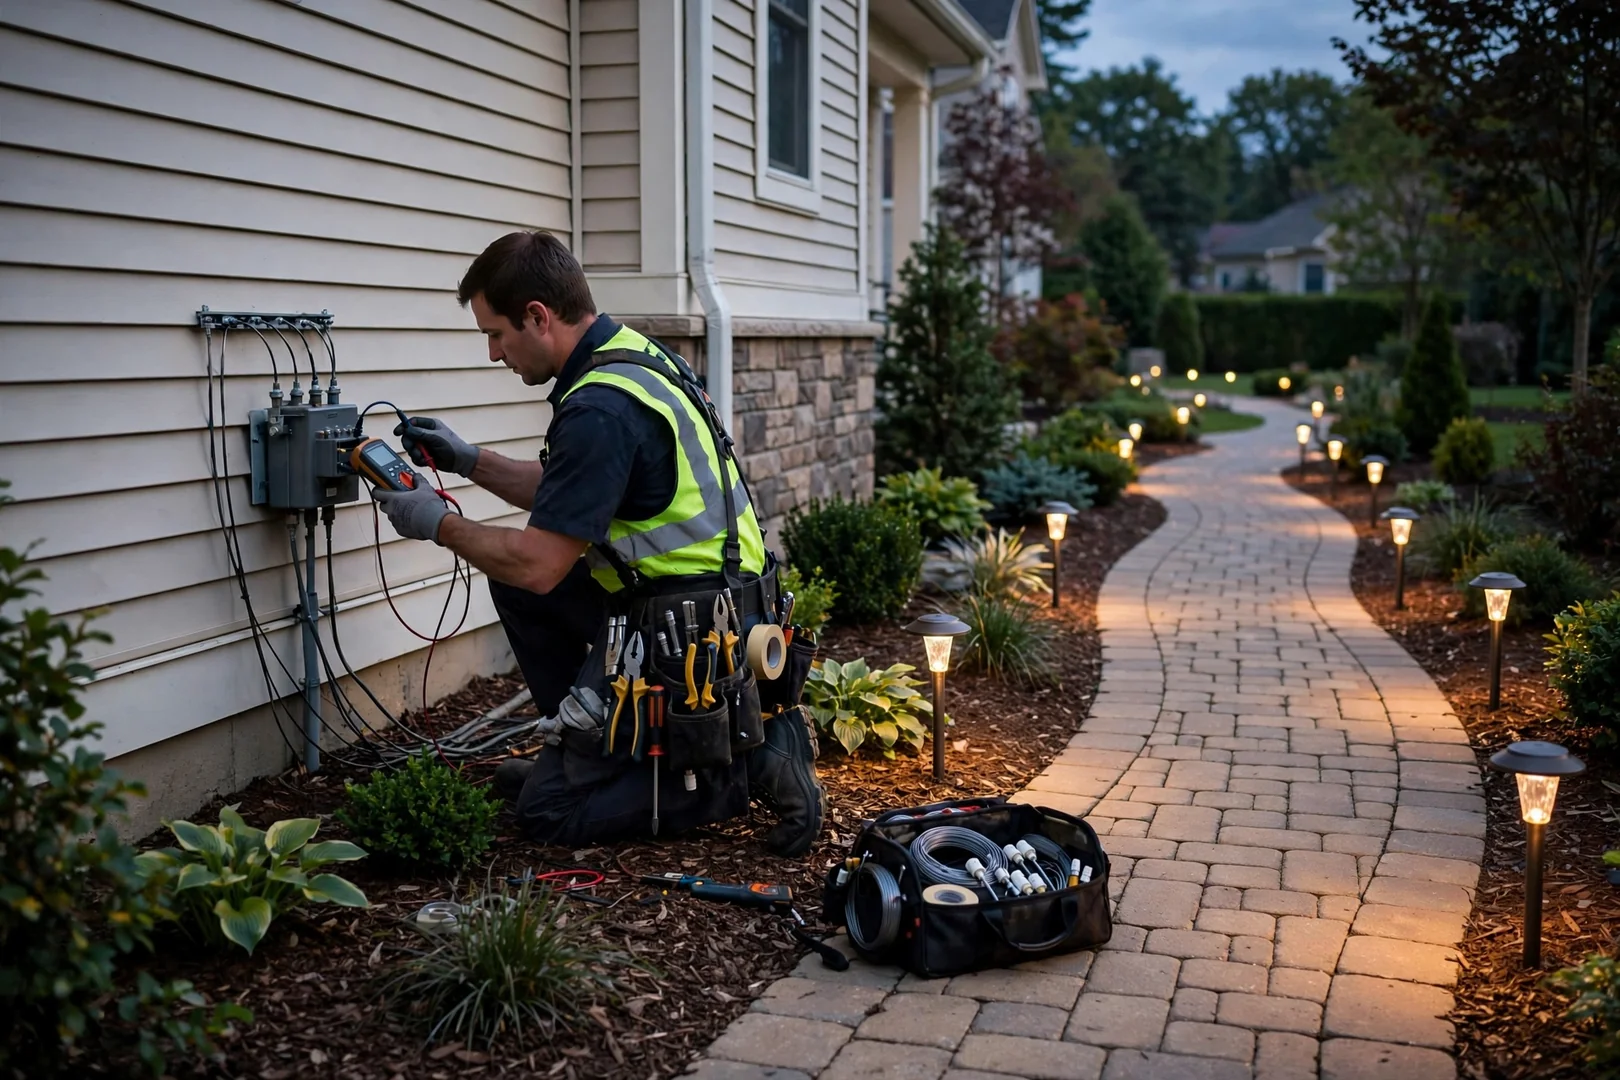
Landscape path lights installed along a walkway with low voltage transformer nearby
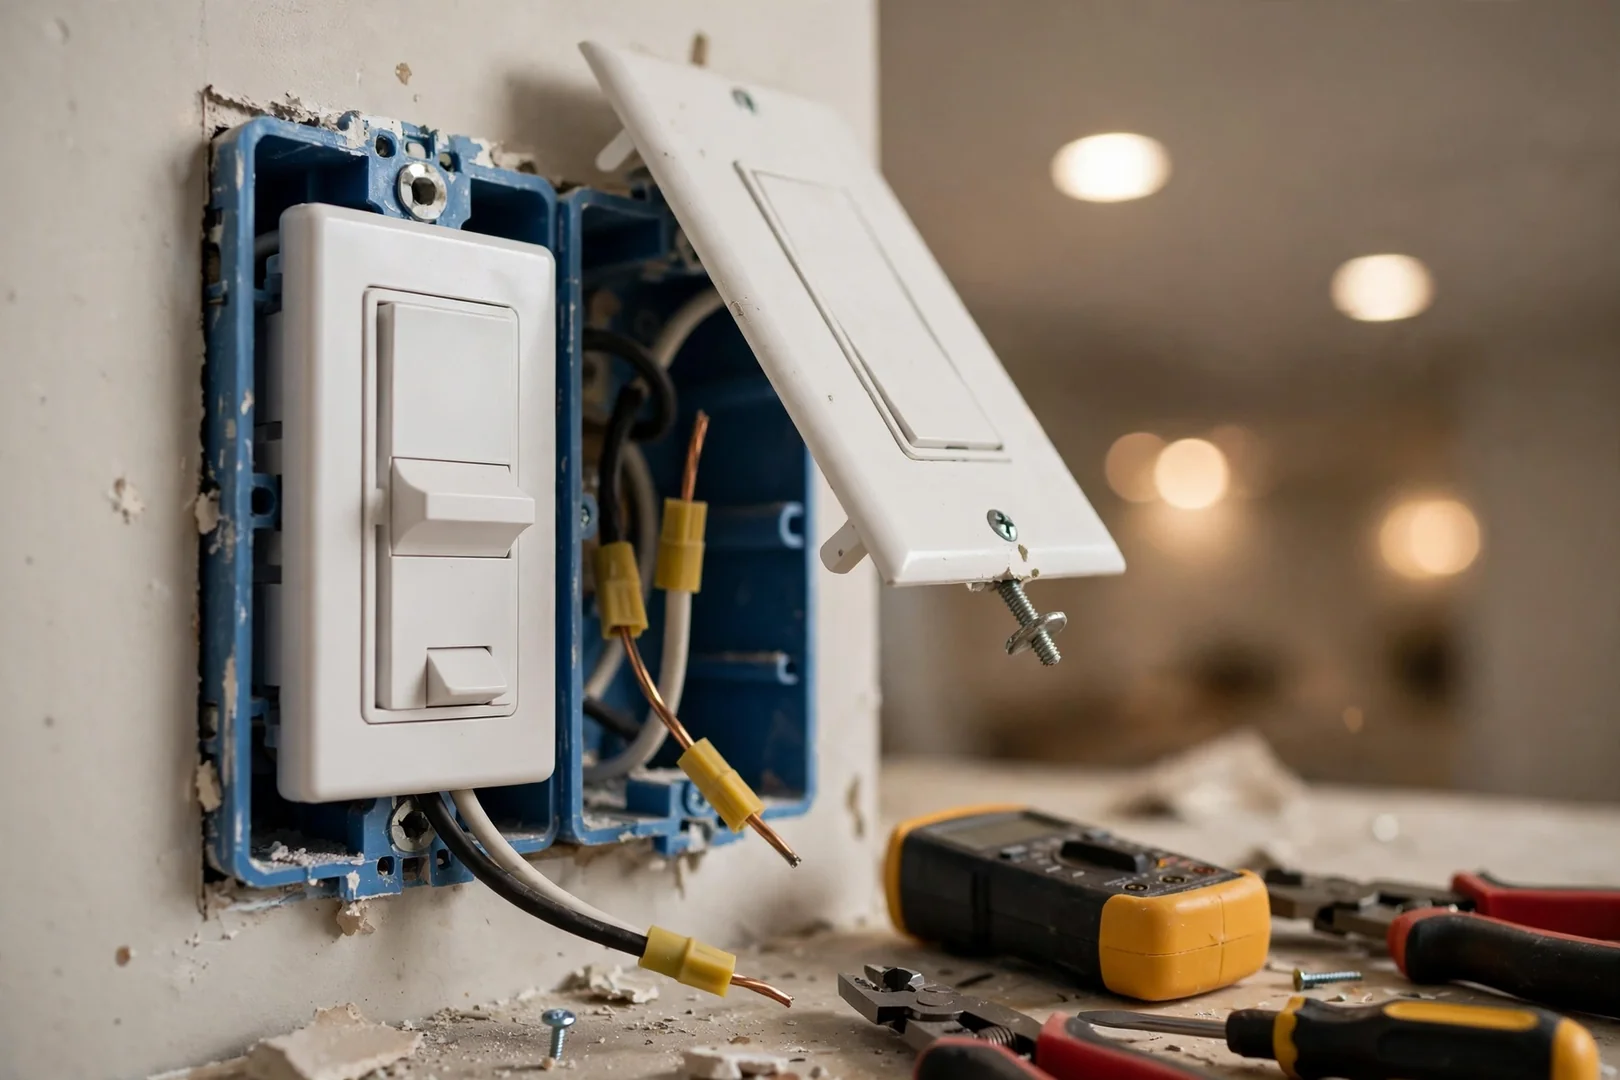
Dimmer switch installed in a wall box with LED fixtures glowing in background
Bright LED high bay lighting completed in a small commercial suite ceiling grid

Lighting Installation FAQs

Lighting Installation FAQs for Centereach Homeowners

Answers below cover the lighting questions Centereach customers ask most in 2026: scheduling, what a visit includes, prep on your end, cost factors, and conditions common in local housing stock.

Call Us: (631) 529-1048

A standard recessed lighting layout in a single room is usually completed in one visit, with timing driven by ceiling access, joist spacing, and whether a new switch leg or dimmer is required. Attic access above the ceiling speeds the fixture cut-in and cable runs. Finished ceilings with insulation or blocking take longer because each housing location is verified before cutting.

Flicker and buzz almost always come from a mismatch between the LED driver and the dimmer type, most often an older incandescent-rated dimmer left in place. The fix is confirming the fixture’s dimming rating, then installing a compatible LED dimmer sized to the total connected load. Loose terminations or a shared neutral can also cause the symptom, so the switch box gets tested before parts are swapped.

Each installation includes de-energizing and verifying the circuit, inspecting the existing ceiling or wall box for fixture-rated support, mounting the fixture, making and torquing terminations, and testing every switch position. Old fixture removal and haul-away are handled as part of the visit. You get a written estimate before work starts and a walkthrough of the finished lighting afterward.

Clear furniture and floor space under each fixture location and move fragile items out of the room. If you purchased fixtures yourself, have the boxes, mounting hardware, and instruction sheets on site so lumen output and voltage ratings can be confirmed. Panel access should be unblocked, since the branch circuit is shut off and labeled at the breaker before wiring begins.

Cost depends on fixture count, fixture type, and whether existing wiring and boxes can be reused. Many Centereach homes built decades ago have undersized boxes, no equipment ground, or cloth-insulated conductors, and those upgrades add labor and material. Outdoor and landscape lighting adds trenching, weather-rated boxes, and low voltage transformer work; every scope in 2026 is quoted in writing after an on-site evaluation.

Book Lighting Installation

Schedule Lighting Installation in Centereach

Ready for a fixture layout that actually fits your rooms? Our licensed electricians measure lumen output, confirm circuit capacity, and provide a free written estimate before any wiring work starts. There is no obligation to proceed.

Scheduling for 2026 installations is open now, including recessed lighting, dimmer upgrades, and exterior fixtures across Centereach. Call or email to set a visit, review the load calculations, and get your lighting plan on the calendar.

Request Your Free Estimate (631) 529-1048
Electrician installing recessed ceiling lights in a Centereach home